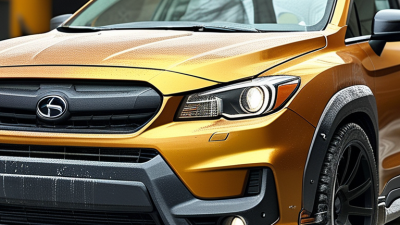
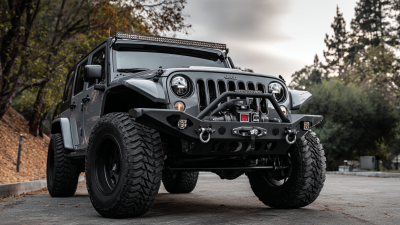
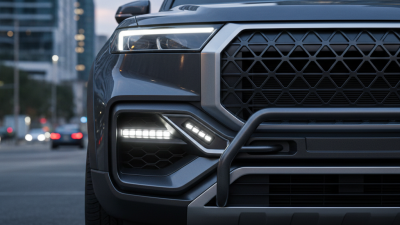
7 Tips for Buying the Right Front Bumper
Choosing the right Front Bumper is more than comparing prices or admiring a rugged finish. It affects protection, fitment, airflow, lighting, sensors, and everyday driving comfort. A bumper that looks strong in a product photo may feel too heavy on a smaller vehicle. It may also block parking sensors or require unexpected modifications. Careful buying starts with your exact vehicle year, trim, body style, and existing equipment.
Real-world inspection matters.
These seven tips focus on practical details that product descriptions often overlook. Check the bumper’s material, mounting points, finish, weight, and compatibility with winches, fog lights, tow hooks, or camera systems. Ask whether installation uses factory holes or requires drilling. Confirm the manufacturer’s measurements and review customer photos showing gaps around the grille and headlights. Those details reveal more than polished marketing images.
Safety deserves priority over appearance. A replacement Front Bumper should not interfere with airbags, crumple zones, sensors, or the vehicle’s original safety systems. Professional installation is wise when structural components or advanced driver-assistance features are involved. Also, verify the seller’s warranty, return policy, corrosion coverage, and technical support before ordering. I have seen buyers focus on aggressive styling, then regret poor clearance or rattling hardware after a few weeks. That mistake is easy to make. A thoughtful purchase balances protection, compatibility, maintenance, and responsible use, even when the perfect option does not exist.
Identify Your Vehicle’s Front Bumper Requirements
Tip:
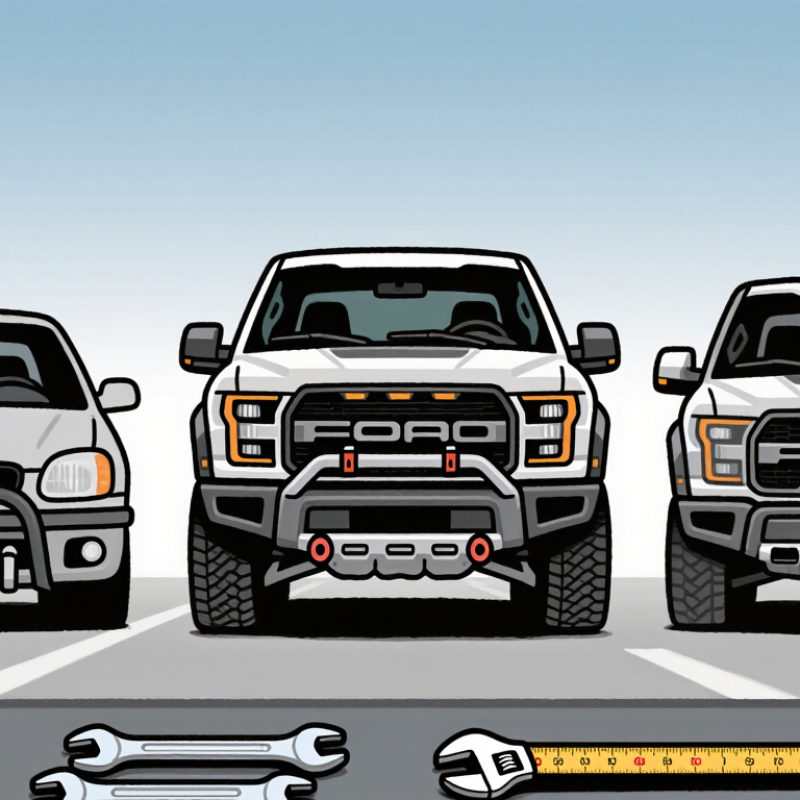
Identify your vehicle’s exact front bumper requirements before comparing prices. Record the model year, body style, trim, and drivetrain. Small variations can change mounting points and sensor openings. Check the vehicle identification number against a trusted parts catalog. Your owner’s manual and repair documentation can confirm factory specifications. Do not rely on a photograph alone.
Tip:
Inspect the bumper’s functional details, not only its appearance. Look for openings for parking sensors, cameras, fog lamps, tow hooks, and air guides. Measure the existing bumper before ordering. Confirm clearance around headlights, wheel liners, and the grille. A bumper may look correct but still interfere with safety equipment. That mistake is easy to make.
Tip:
Match the replacement material and installation method to your driving needs. Plastic offers light weight and flexible repair options. Steel provides added resistance for demanding road conditions, but it can increase weight. Check mounting brackets, impact absorbers, and fasteners for compatibility. Professional installation is wise when sensors or restraint systems are involved. I once underestimated a minor alignment gap; it became obvious after rain and highway driving. Recheck every connection, even when the panel appears level. A clean fit is not enough. Safety matters more.
Choose the Right Bumper Material and Construction
Front bumper material affects protection, weight, repair cost, and corrosion resistance. Steel offers strong mounting points and tolerates repeated impacts, but it adds mass. The U.S. Department of Energy reports that reducing vehicle weight by 10% can improve fuel economy by roughly 6–8%. That matters during daily driving. Aluminum saves weight and resists rust, yet it can deform sharply and cost more to repair. Check the alloy grade, not only the material name.
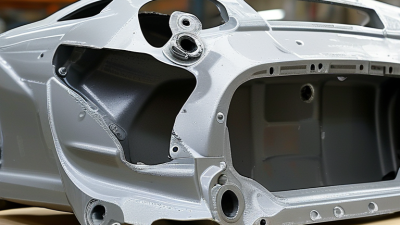
Many modern bumpers use polypropylene, ABS, or layered composites over an energy-absorbing foam core. These plastics can flex during a low-speed impact and resist surface corrosion. However, a flexible cover does not guarantee a strong bumper system. Inspect the reinforcement beam, crush absorbers, brackets, and fastener locations. IIHS low-speed bumper evaluations show how design differences can influence repair damage, even after similar impacts. Fit matters too. Uneven gaps may reveal weak brackets or poor construction.
Sensor openings deserve careful attention. A replacement bumper should preserve factory mounting positions and airflow paths. Do not assume a heavier bumper is safer. I used to think thickness solved everything, but that view misses controlled energy absorption. That mistake is easy to make. Verify the installation instructions, material thickness, weld quality, and corrosion protection. An independent repair technician can identify hidden compromises. Sometimes, the less impressive-looking construction performs better. Recheck the choice before paying.
Check Fitment, Compatibility, and Installation Needs
7 Tips for Buying the Right Front Bumper
Check Fitment, Compatibility, and Installation Needs
Front bumper shopping starts with fitment, not appearance. Confirm the exact year, body style, trim, and production date. Two vehicles can look similar yet use different mounting points. Measure the original bumper before ordering. Note grille openings, sensor holes, fog-light spaces, and tow-hook access. A product photo is not proof of compatibility.
Review the bumper’s material and mounting hardware. Match its connector openings with your vehicle’s sensors and lamps. Modern safety systems need careful attention. A blocked sensor may affect warnings or parking assistance. Check whether brackets, absorber parts, clips, and fasteners are included. Missing hardware can turn a simple replacement into an afternoon of searching. I have seen buyers overlook small clips, then discover loose edges after installation.
Installation needs deserve equal attention. Compare the instructions with your tools, workspace, and skill level. Some bumpers require wheel-liner removal or help from another person. Keep the vehicle supported and protect painted surfaces with clean blankets. Test panel gaps before tightening every fastener. My own checklist is useful, but not perfect; I still recheck alignment twice. If the bumper resists, stop and inspect the fit instead of forcing it. A slight mismatch may signal the wrong part, not poor technique.
7 Tips for Buying the Right Front Bumper
Check fitment, compatibility, and installation needs before purchasing.
This checklist counts the key verification points commonly needed for each buying decision. Confirm the vehicle year, make, model, body style, sensor openings, mounting points, included hardware, finish requirements, and installation tools before ordering.
Compare Safety Features, Design, and Legal Standards
Buying the right front bumper requires more than matching a vehicle’s shape. Start by checking crash protection, mounting strength, and material quality. A bumper should absorb impact without creating dangerous sharp edges. It should also preserve airflow and protect nearby components. Measure twice. Fit matters.
Check whether the design supports parking sensors, cameras, lighting, and towing equipment. Poorly placed openings can reduce sensor accuracy or expose wiring to water. Look for clean edges, secure brackets, and corrosion-resistant finishes. I once underestimated bracket alignment; a small gap caused vibration and repeated adjustments. That experience taught me to inspect installation points, not just appearance. Ask for proof.
Legal standards deserve careful attention. Requirements differ by location and may cover pedestrian protection, height, lighting, visibility, and impact performance. Confirm that the bumper has suitable compliance documentation for your area. Ask an inspection authority or qualified installer when the paperwork seems unclear. Do not assume a replacement part is automatically acceptable because it fits. Check insurance conditions, too. A dramatic design may attract attention, yet it can interfere with safety systems or fail local inspection. No checklist is perfect. Recheck the vehicle after installation, especially sensor warnings, panel gaps, and fastener tightness.
Evaluate Quality, Cost, Warranty, and Long-Term Value
7 Tips for Buying the Right Front Bumper
Tip 1: Check the material carefully. A quality bumper should feel solid, fit evenly, and resist cracking under normal use. Inspect mounting points for clean edges and reinforced areas.
Tip 2: Compare the total cost, not only the listed price. Include shipping, painting, installation, sensors, and possible adjustments. A cheap bumper can become expensive after hidden work.
Tip 3: Confirm vehicle compatibility using the exact model year and trim. Small design differences can affect brackets, lighting, and parking sensors. Measure twice.
Tip 4: Read the warranty terms closely. Check coverage length, exclusions, labor rules, and damage caused during installation. A warranty written in vague language deserves caution.
Tip 5: Ask about testing and quality control. Reliable sellers should explain material standards, fitment checks, and inspection procedures. Photos help, but they cannot replace professional advice.
Tip 6: Consider long-term durability. Look for resistance to weather, road debris, temperature changes, and minor impacts. A smooth finish also reduces future repair work. I once focused too heavily on appearance and underestimated installation time. That mistake changed my buying process.
Tip 7: Evaluate repairability and replacement support. Confirm whether mounting clips, brackets, and related parts remain available. Keep the invoice, fitment details, and warranty documents. They may save time later. Before ordering, compare at least three options and ask an experienced technician to inspect the fit. Their advice may reveal a small issue that online descriptions miss. Good value is not always the lowest price. It is dependable performance over years.