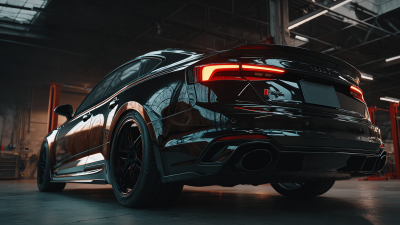
page-head - 1

How to Choose the Right Audi Rear Bumper?

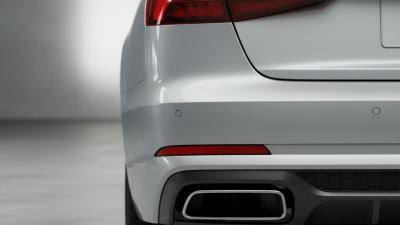
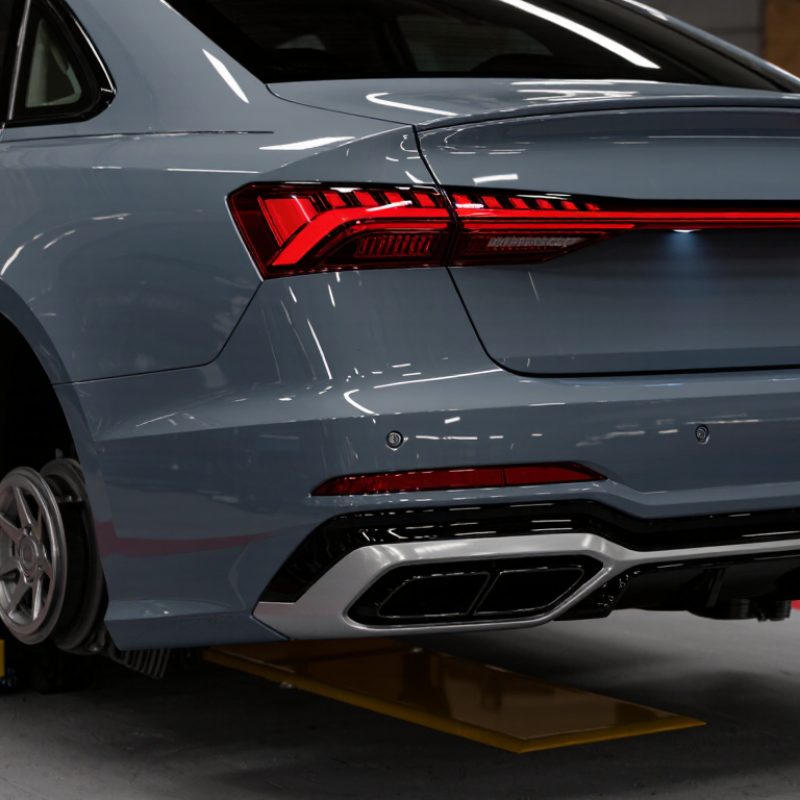
Choosing the right Audi Rear Bumper requires more than matching the badge and color. It demands careful attention to model year, body style, trim level, and bumper design. An Audi A4 sedan bumper will not suit an A4 Avant. Small differences matter. Exhaust openings, reflector positions, parking sensor holes, and mounting points must align precisely.

Start with the vehicle identification number and confirm the manufacturer’s specifications. This step reduces expensive mistakes. An experienced technician can also compare the original bumper with the replacement before installation. They should inspect clips, brackets, sensor mounts, and impact-absorbing components. A bumper that looks correct may still fit poorly. Gaps around the trunk or taillights can reveal the problem.

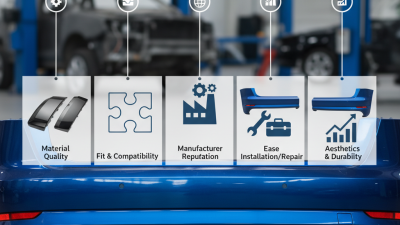
Material quality deserves equal attention. Original equipment parts usually provide reliable fitment and consistent performance. Certified aftermarket options can work well, but their documentation should be clear and credible. Check whether the part supports parking sensors, driver-assistance systems, and the correct exhaust configuration. Safety features must not be treated as decoration.

Think beyond appearance.

A glossy finish can hide weak plastic or inaccurate molding. Even careful buyers can overlook a sensor bracket. I have seen small alignment issues become costly after painting. That experience makes pre-fitting essential. No checklist is perfect, either. Recheck the part number, finish, and installation requirements before ordering. The best choice balances appearance, protection, compatibility, and dependable professional guidance.
How to Choose the Right Audi Rear Bumper?

Match the Audi Model, Generation, Body Style, and Production Year

Choosing the right Audi rear bumper starts with the exact model, not appearance alone. A bumper for an A4 sedan may not fit an A4 Avant, even within the same generation. Body length, tailgate shape, exhaust openings, and reflector positions can differ. Production year matters too. Mid-cycle updates may change mounting points, parking sensor locations, or lower trim design.

IIHS crash data shows rear-end collisions represent about 23% of police-reported crashes. That makes accurate bumper replacement more than a cosmetic decision. Check the VIN, generation code, body style, and production month before ordering. S&P Global Mobility reported that the average vehicle on U.S. roads reached 12.6 years in 2024. Older Audi vehicles may have several bumper revisions, even when the model name looks unchanged.

Inspect the original bumper closely. Count sensor holes. Measure the tow-eye cover. Compare the exhaust cutouts and inner brackets. If the vehicle has parking sensors, a wrong opening can create poor alignment or false alerts. I-CAR repair guidance also emphasizes following vehicle-specific procedures when replacing exterior components near electronic systems. A catalog photo is useful, but it is not proof of compatibility. I once trusted a similar-looking bumper and missed a small side bracket difference. That mistake cost extra labor. Verify twice. Surface finish, primer type, and sensor preparation still deserve attention after fitment is confirmed.

Verify OEM Part Numbers, Mounting Points, and Sensor Cutout Dimensions

How to Choose the Right Audi Rear Bumper?

Verify OEM Part Numbers, Mounting Points, and Sensor Cutout Dimensions

Choosing a rear bumper begins with the exact OEM part number. Match it against the vehicle’s VIN and production year. Small suffixes can indicate different brackets, materials, or sensor layouts. I have seen two covers look identical but use different mounting points. Compare every tab, guide rail, bolt hole, and lower edge before ordering. A two-millimeter mismatch can create uneven gaps near the trunk. It will show.

Tips: Photograph the original bumper before removal. Measure each sensor opening with a caliper, not a ruler. Record the hole diameter, spacing, and distance from nearby edges. Keep the measurements with the part number. This simple record can prevent a costly return.

Sensor cutouts deserve careful attention. Check whether the bumper supports the existing sensor holders, clips, and wiring channels. Some openings appear correct but lack the inner support ring. Test-fit the bumper before painting or final assembly. Confirm that the sensors sit flush, face forward, and remain evenly spaced. Do not trust appearance alone. I once overlooked a shallow inner contour, and the sensor holder tilted slightly. The bumper fitted, but the warning system became inconsistent. A second inspection would have caught it.

Compare PP, ABS, and Composite Materials for Impact and Finish Quality

Choosing a rear bumper cover starts with its job, not its label. The cover absorbs minor contact and protects the paint, while the hidden reinforcement handles major loads. Polypropylene (PP) is usually the practical choice. It is light, flexible, and less likely to crack after a low-speed parking impact. The U.S. Department of Energy reports that a 10% vehicle weight reduction can improve fuel economy by roughly 6–8%. Every small part matters.

ABS feels more rigid and often delivers sharper edges and a smoother painted finish. However, it can crack more easily in cold weather or after a hard impact. Composite materials, such as reinforced plastic blends, offer stronger stiffness and better shape retention. They may also support premium surface detail. The trade-off is repair difficulty and higher replacement cost. Research from the European Commission’s Joint Research Centre identifies lightweight polymers as important in vehicle efficiency, but also highlights recycling and material separation challenges.

Check the mounting tabs carefully. They should align without forcing the panel. Inspect the lower edge for waviness, uneven texture, or thin corners. I have seen a cheap cover look excellent indoors, then distort after heat exposure. That mistake is easy to miss. For daily driving, PP often balances impact tolerance and cost. Choose ABS when finish precision matters most. Consider composites only when stiffness, styling detail, and budget justify the compromise. Always verify the material code and paint compatibility before installation.

How to Choose the Right Audi Rear Bumper? — Compare PP, ABS, and Composite Materials for Impact and Finish Quality
Comparison Factor Polypropylene (PP) Acrylonitrile Butadiene Styrene (ABS) Composite Materials
Typical bumper-cover use Commonly used for flexible automotive exterior parts and bumper covers. Used for some molded exterior components; suitability depends on the specific formulation and vehicle design. May be used for specialty or aftermarket parts. “Composite” can refer to different materials, such as fiberglass-reinforced plastic, so properties vary considerably.
Material characteristics Lightweight thermoplastic; unfilled PP typically has a density around 0.90–0.91 g/cm³. Rigid thermoplastic; typical ABS density is around 1.03–1.07 g/cm³. Weight, stiffness, and strength depend on the resin, reinforcement, and construction. Do not assume all composites have the same properties.
Impact and flexibility Usually offers good flexibility and resistance to minor impacts. Performance can change with temperature and formulation. Generally stiffer than PP and can provide good impact resistance, but may be less flexible under some conditions. Often designed for stiffness, but impact behavior varies. Some reinforced composites can crack or delaminate rather than flex like a thermoplastic.
Cold-weather behavior Flexibility and impact performance are temperature-dependent; check the part specification for cold-weather performance. Impact resistance can decrease at low temperatures depending on grade and part design. Depends on the fiber, resin, layup, and temperature range specified by the manufacturer.
Surface and paint finish Can achieve a smooth painted finish, but PP’s low surface energy generally requires suitable preparation and adhesion-promoting products. Can provide a smooth molded surface and is generally receptive to established plastic-painting processes when properly prepared. Finish quality depends on mold quality and surface preparation. Fiberglass-type parts may require additional finishing to address surface texture or imperfections.
Repair considerations Some damage can be repaired using compatible plastic-repair methods; the exact PP type and repair procedure matter. May be repairable with compatible plastic-repair materials. Follow the repair system’s instructions for the specific substrate. Repair methods differ by composite construction. Cracks or delamination may require specialized repair, and some damage may not be economical to repair.
Fit and installation Flexibility may help with handling, but correct mounting points and dimensions remain essential. Correct molding and mounting-point accuracy are important for panel gaps and alignment. Fit can vary with tooling and manufacturing tolerances. Check mounting points and alignment before painting or installation.
Best suited to Drivers prioritizing a lightweight, flexible cover and a material commonly used in automotive exterior applications. Drivers seeking a comparatively rigid molded part, provided the replacement is specified for the vehicle and application. Buyers considering a specialty part who can verify its exact construction, fit, finish, and repair requirements.
What to verify before buying Confirm compatibility with the exact model year, body style, trim, parking sensors, reflectors, exhaust openings, and other fitted equipment. Check the part’s material marking or specification, mounting points, surface condition, and whether it is supplied ready for paint. Material alone does not establish crash performance or vehicle compatibility.

Confirm FMVSS 581 Compliance at the 2.5-MPH Rear Impact Test Speed

Choosing the right rear bumper starts with the 2.5-mph rear impact requirement under FMVSS 581. This test checks whether a passenger vehicle’s bumper limits damage during a low-speed collision. It is not just a cosmetic inspection. The bumper cover, reinforcement beam, energy absorber, brackets, and mounting points must work together.

Ask the seller for test records, engineering data, and clear application details. Confirm that the replacement matches your vehicle’s model year, body style, sensors, exhaust clearance, and factory mounting locations. A bumper that looks identical may use thinner reinforcement or poorly positioned brackets. Measure twice. Then inspect the seams, bolt holes, and absorber alignment before installation.

During a professional inspection, technicians should check the bumper at the specified 2.5-mph rear impact speed, not rely on appearance alone. FMVSS 581 compliance may depend on the complete vehicle configuration and correct installation. A replacement part alone should not be treated as automatic proof of compliance. I have seen clean-looking covers conceal bent supports and missing fasteners. That mistake is easy to make. Keep the test documentation with the repair records, and ask whether the installation preserves sensor operation, panel fit, and the vehicle’s original impact structure. Loose hardware can change results. So can an incorrect absorber.

Check Parking Sensors, Blind-Spot Hardware, and ADAS Calibration Needs

How to Choose the Right Audi Rear Bumper?

A rear bumper is more than a painted outer panel. It can affect parking sensors, blind-spot detection, and other driver-assistance systems. Check the exact sensor openings before ordering. A few millimeters of misalignment can create false warnings or missed objects.

Look behind the bumper, too. Blind-spot radar modules may use dedicated brackets, mounting guides, or carefully shaped covers. Confirm that the replacement bumper supports the original hardware without bending or pressing against it. Inspect wiring connectors for moisture, stretched cables, and broken clips. Small details matter.

Calibration is often overlooked. Removing the bumper can disturb radar angles, even when the vehicle drives normally. A qualified technician should scan the vehicle, follow the manufacturer’s repair procedure, and perform static or dynamic calibration when required. The workshop may also check sensor communication and road-test the system in safe conditions. Do not rely only on dashboard lights. They can remain silent while a sensor position is wrong.

Fitment should be verified before painting. I have seen a bumper look perfect from a distance but hold one sensor too deeply. That mistake is expensive to correct later. Still, no inspection is flawless. Brackets can appear straight while carrying hidden impact damage, so replacing questionable hardware is usually wiser than guessing.